What is Proxifier and how to set up HTTPS Proxy and SOCKS Proxy in this software? Proxifier Tutorial
Proxifier is a software tool that allows users to route all their internet traffic through a proxy server. It allows users to work with any internet client through a proxy, improve network performance, and access blocked websites. It is often used by people who are looking to increase their online privacy and security, or bypass geographical restrictions on certain websites. Proxifier is compatible with various types of proxy servers, including HTTP, HTTPS, and SOCKS. It also offers advanced features such as proxy chain, automatic proxy detection, and proxy authentication.
How to run proxies with Proxifier?
Proxies are a powerful tool for online privacy and security. They allow you to access the internet through a different server, masking your IP address and providing an extra layer of anonymity. One popular tool for using proxies is Proxifier, a software that allows you to route all your internet traffic through a proxy server. In this article, we will show you how to set up HTTPS proxies and SOCKS using Proxifier.
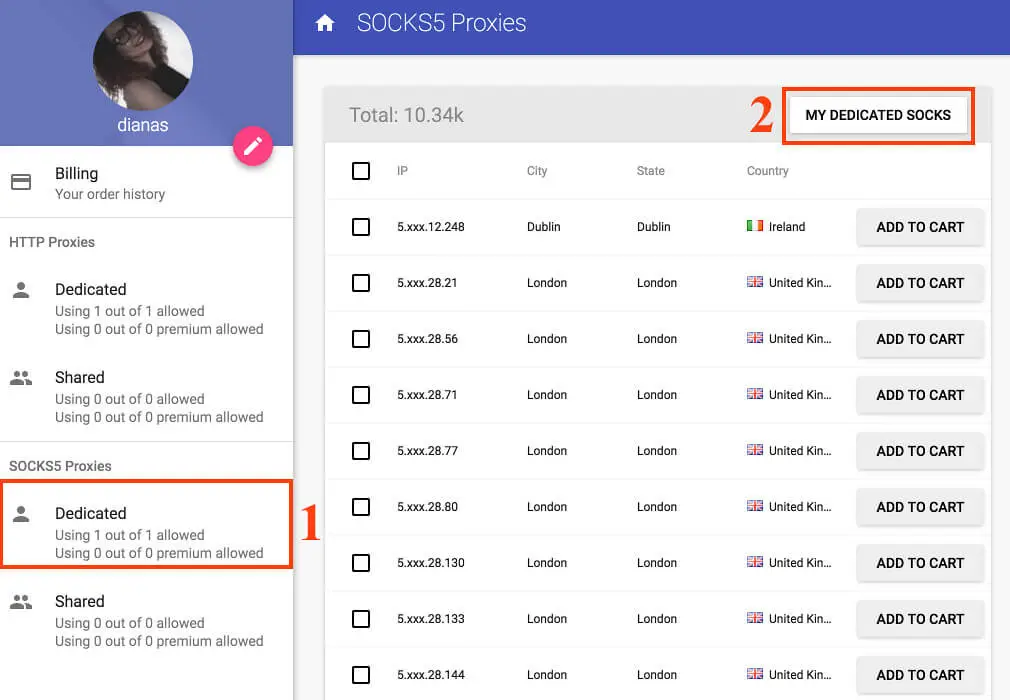
In order to set up SOCKS5 proxies in Proxifier, you first need to get the address of the proxy you want to use from your account To do so, click on the Dedicated or Shared in the SCOCKS5 section (depending on which type of SOCKS5 proxies you purchased.
Note: because Proxifier supports only TCP connections your IP may leak on some sites which are using QUIC (HTTP3) protocol which works over UDP. You need to disable the QUIC protocol. For Chrome-based browsers, you can disable the QUIC protocol via the following setting: chrome://flags/#enable-quic. Disable it, by default, is enabled.
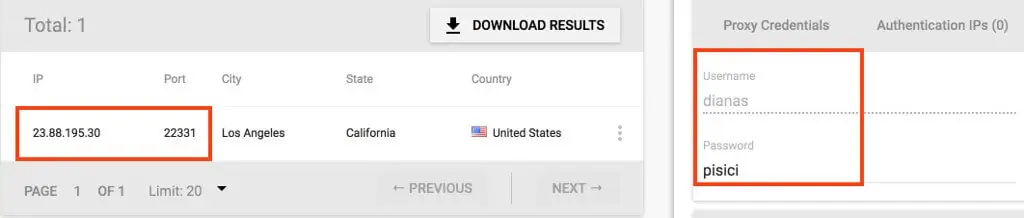
Get the IP and Port of the proxy you want to use. You'll also need the authentication credentials displayed on the right sidebar.
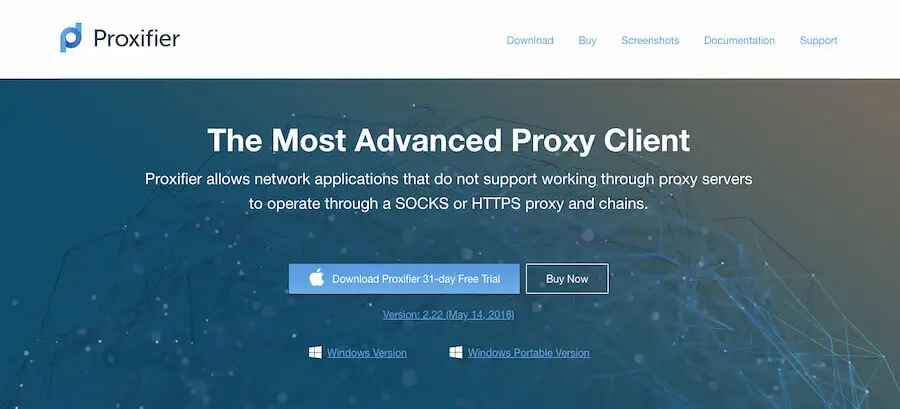
[To set up proxies in Proxifier head over to Proxifier and download the app for Windows or MAC.
Before going on, be informed that if you used proxies before downloading Proxifier you should check your built-in proxy settings. Configure all your applications to have a direct internet connection.
Once the app is installed and running, you'll see the screen below.
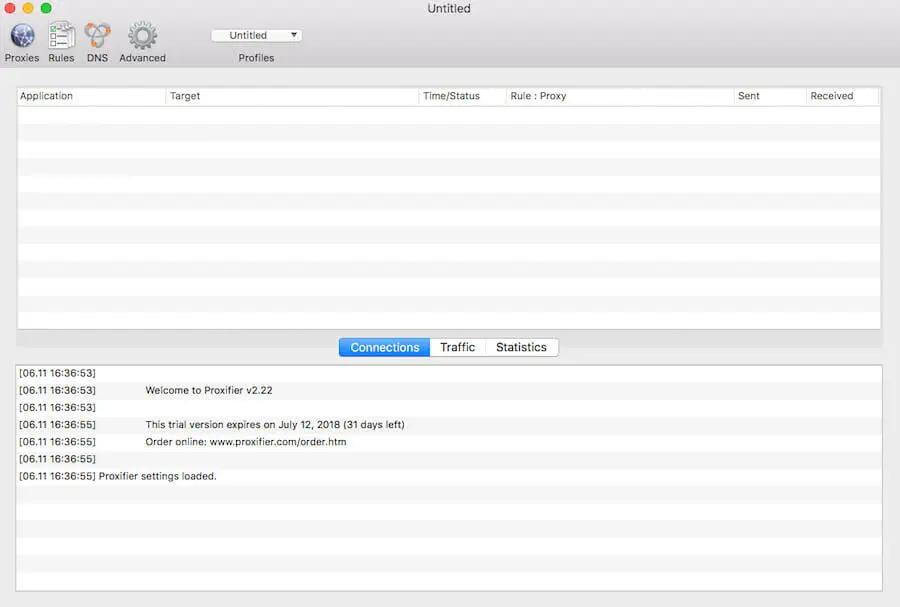
Click on Proxies in the upper left corner.
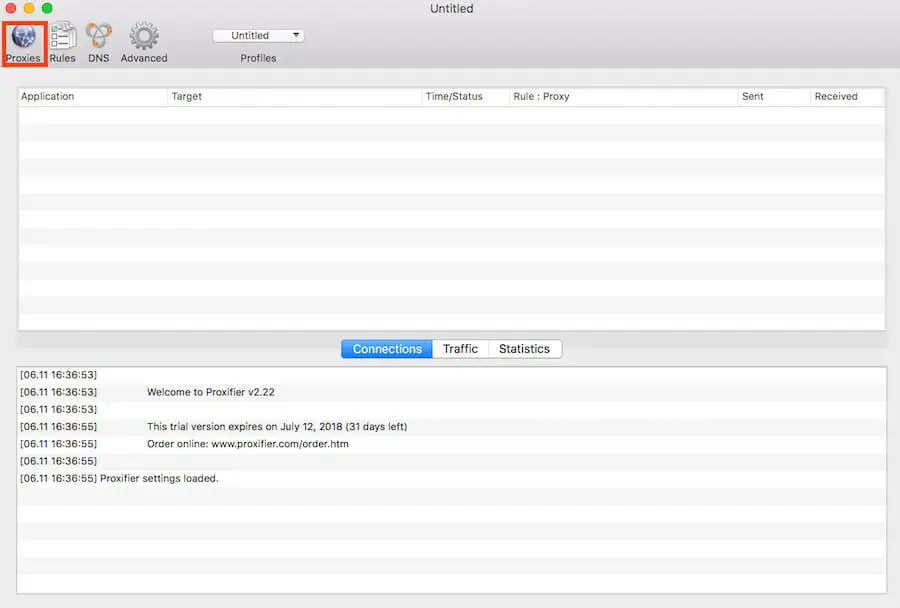
A settings window will pop up where you'll be adding your proxies.
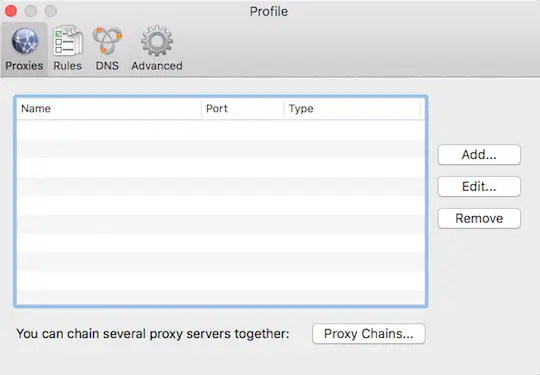
Click on Add…
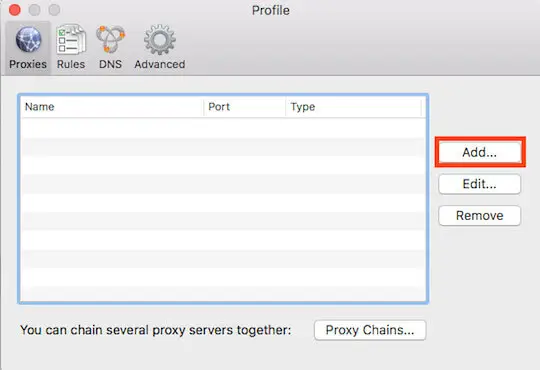
Fill in your proxy Address (IP) and Port and check the radio button for the SOCKS Version 5. Enable the Authentication and fill in the Username and Password from your account. Once you're done, click OK.

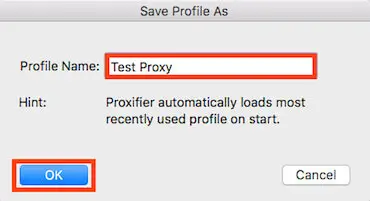
If you'll be using the same proxy again, you can save the profile for future use by clicking on Untitled. A drop-down menu will unfold where you can choose Save Profile As…
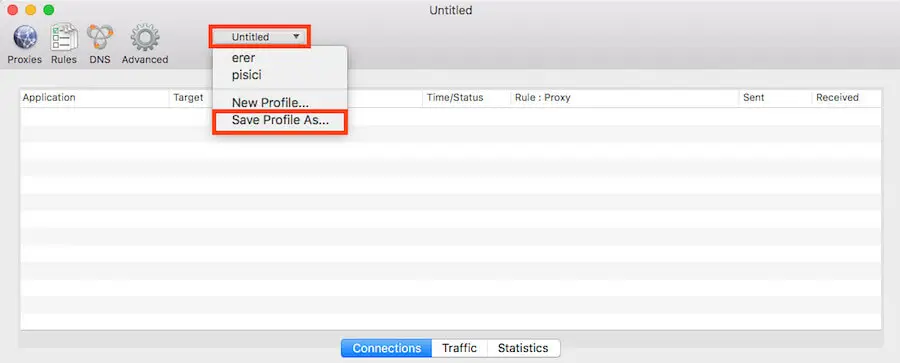
Fill in the desired name and click OK. You can now use the same proxy server each time you open the app without having to repeat the process. You can save multiple profiles if you have more proxy servers and easily switch between them as needed.
When you click on a profile, the proxy server will run automatically without further action from your part required. The proxy will stop running when you close the app.
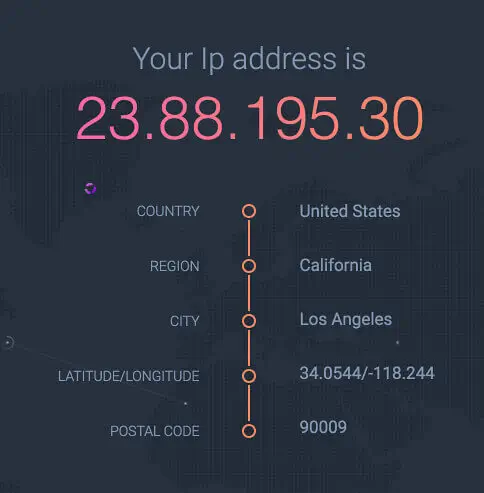
To see if your browsers are running through the proxy server, go to InfoIP and see if the IP matches your proxy address.
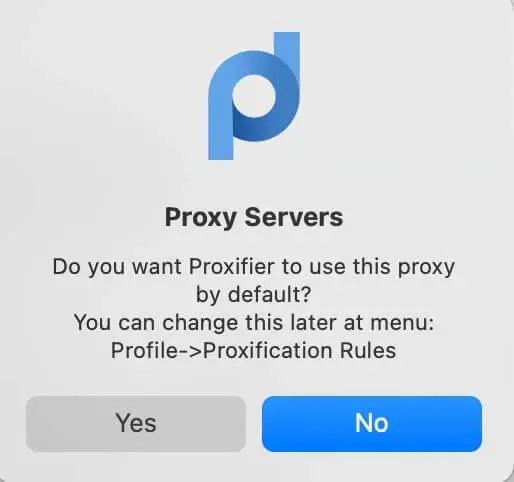
This message will pop up after you add the proxy , press the “yes” button, if not go to Proxification_Rules
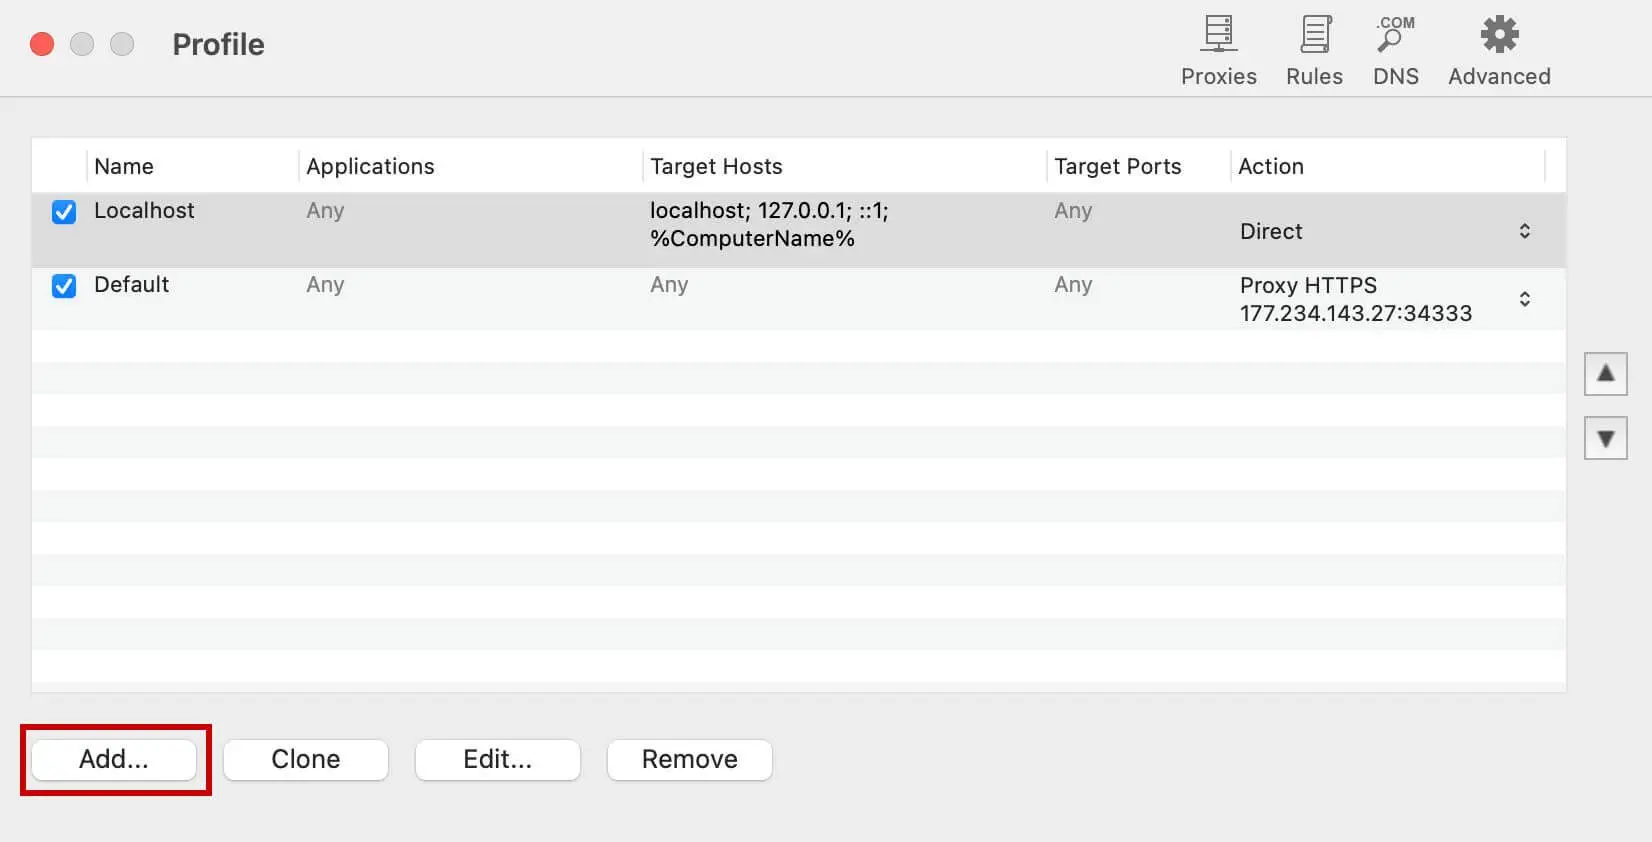
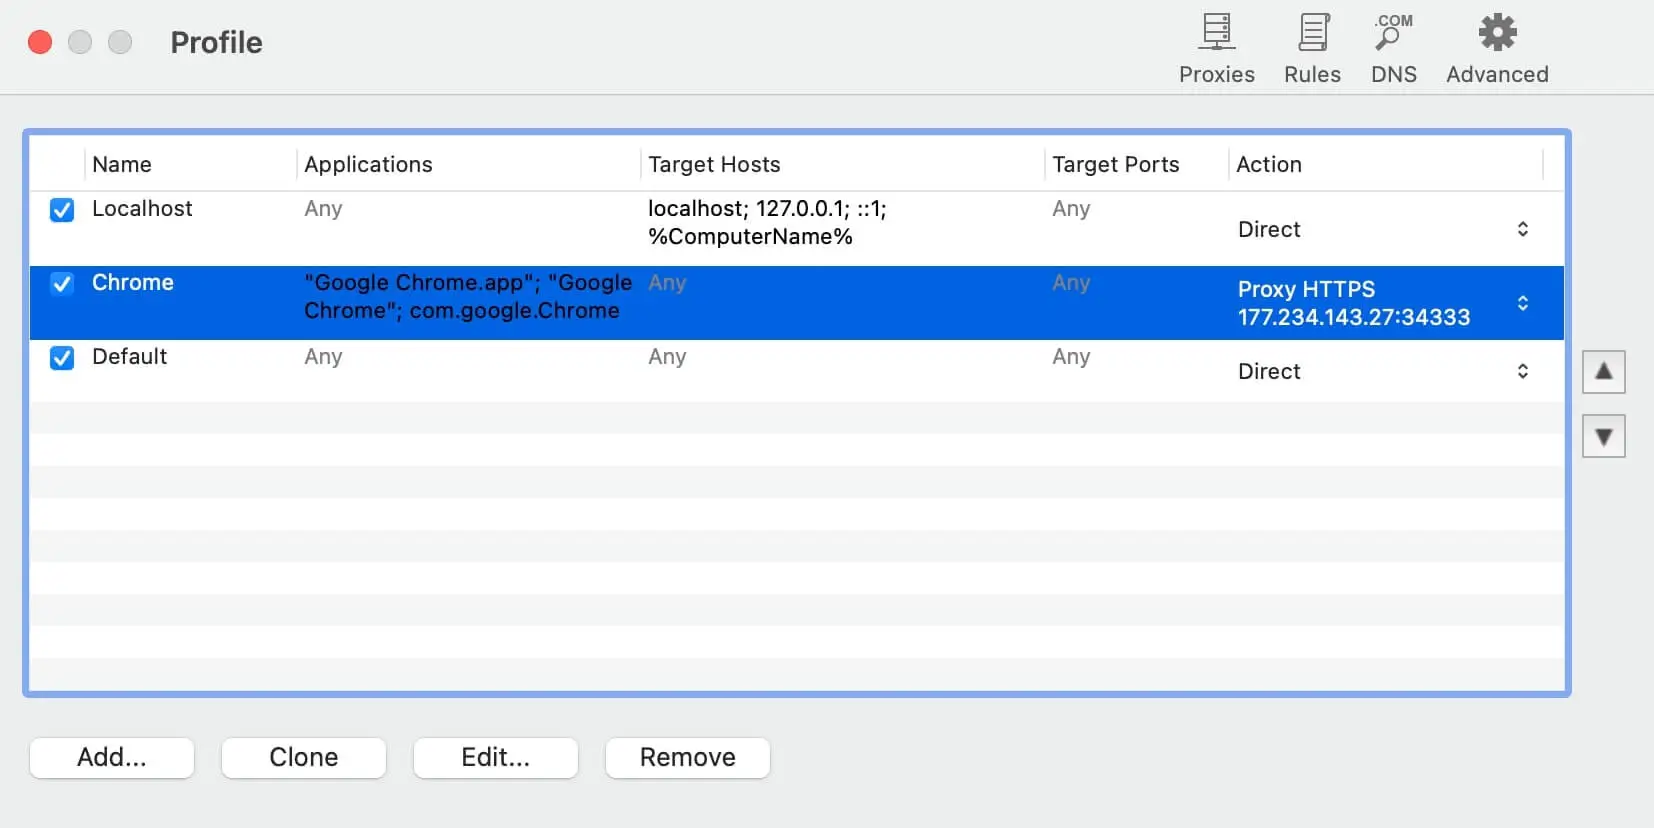
As a matter of course each profile additionally has a predefined rule called "Localhost." When this is empowered, Proxifier doesn't burrow nearby connections (loopbacks) on the PC. A few applications like Firefox can rely upon the loopback connections. You can alter or eliminate this standard, yet it is prescribed to keep it empowered except if you are certain beyond a shadow of a doubt that you have to burrow connections with 127.0.0.1 through a proxy.
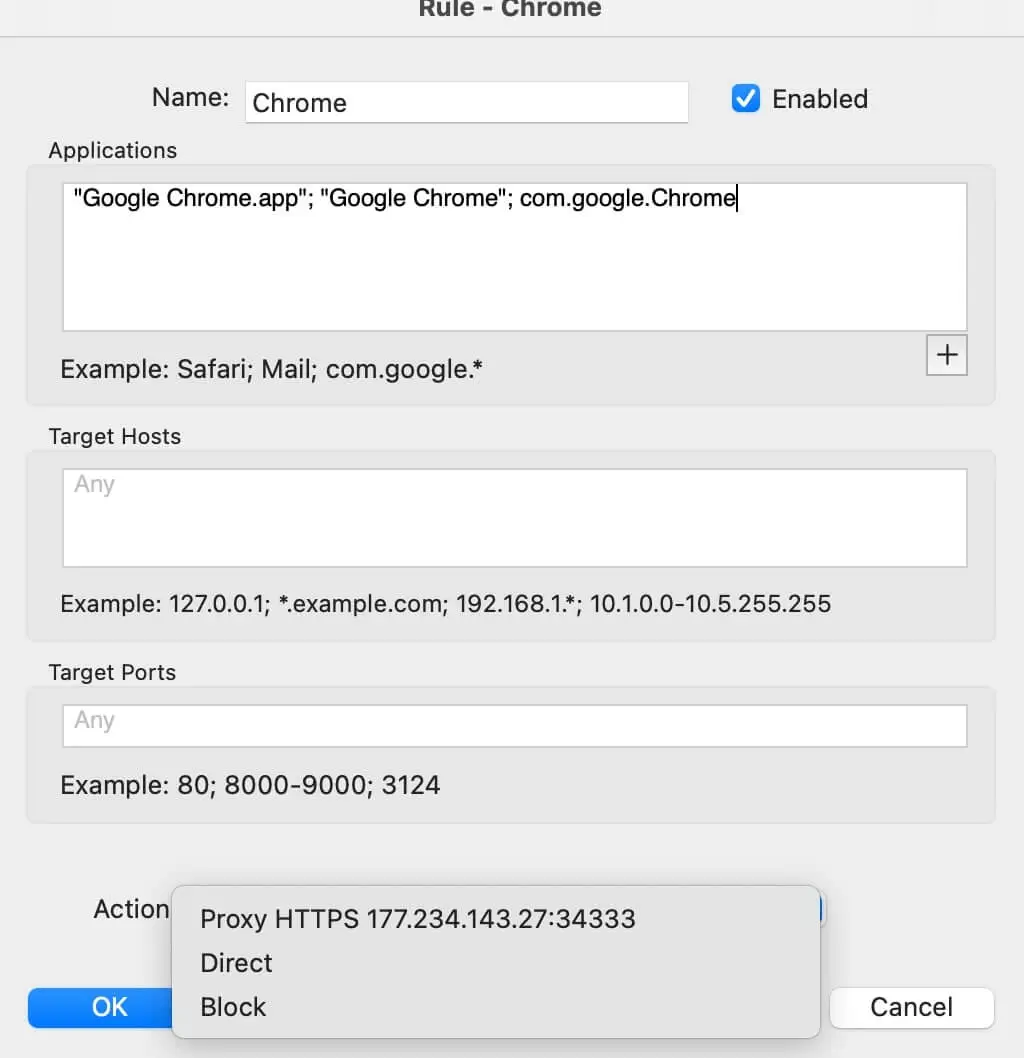
If you want to use the proxy only for a specific application (ex: Google Chrome) add a new proxy rule.
Name it; in the applications section browse Google Chrome and from the Action button select your proxy.
The order of the rules is not going to affect anything, so you may sort them however you want.
And after you finish this tutorial you are all set to navigate the internet with your new IP.
Conclusion: In conclusion, Proxifier is a valuable tool for those looking for an easy and efficient way to set up and use HTTPS proxies and SOCKS. By following the instructions provided in this article, you will be able to take full advantage of the benefits that proxies offer, such as improved privacy and security while browsing the internet. Remember to always keep your software updated and choose reliable and trustworthy proxy providers.